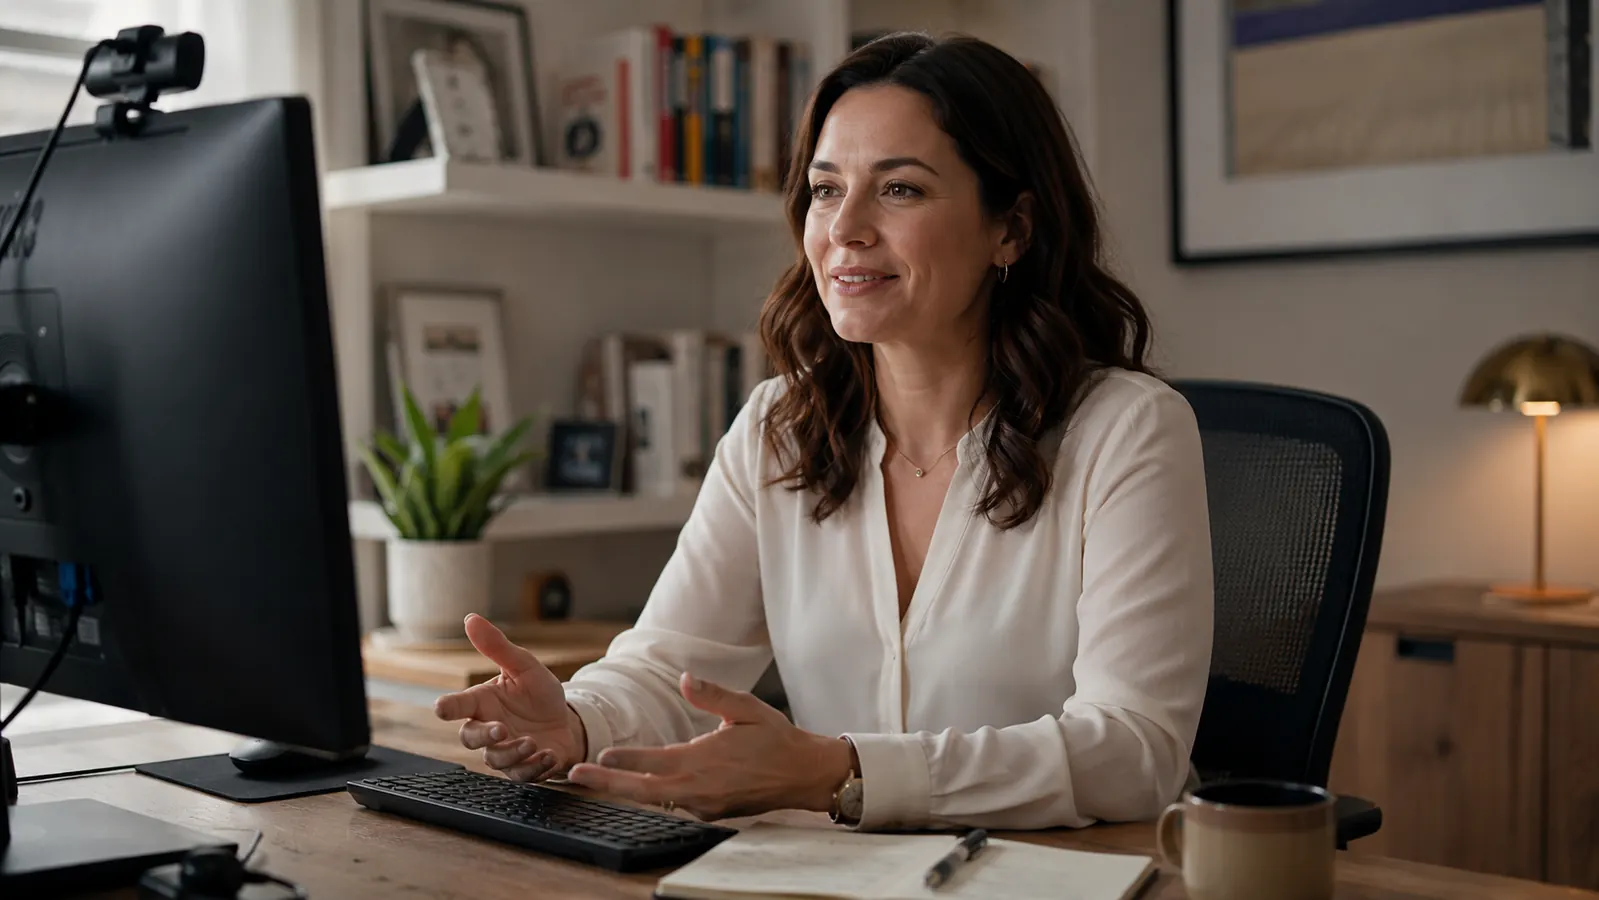
I have been on hundreds of video calls over five years of remote work. I have sat across from people using $3,000 MacBooks who still look like they are broadcasting from a submarine. Grainy image, ceiling light washing out their face, camera pointing up at their nostrils. And I have seen people with budget setups who look completely polished because they fixed the right five things. Looking professional on a video call is not about spending money on the most expensive camera. It is about understanding what the camera actually needs from your environment, and then giving it that. This guide covers exactly how to do it, starting with the one gear upgrade that pays off more than any other.
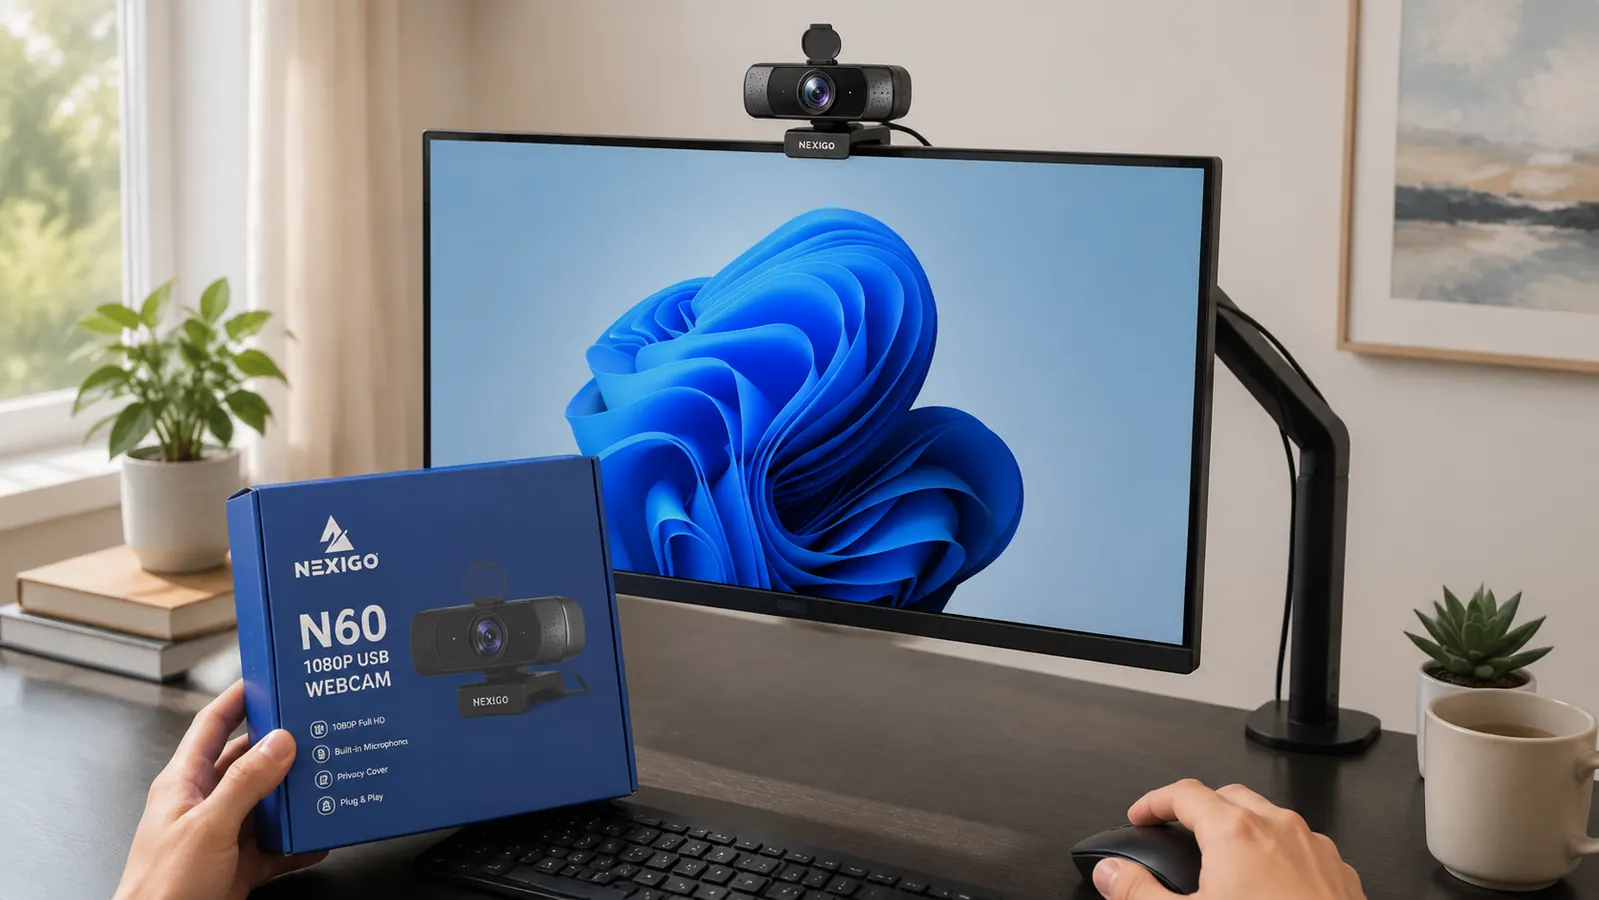
If you are currently relying on your laptop's built-in camera, that is the first thing to address. Laptop cameras sit below eye level, shoot upward, and max out at 720p in most machines made before 2022. The NexiGo N60 is a 1080p USB webcam with over 52,000 Amazon ratings that runs about $25. It clips to any monitor, works plug-and-play on Windows and Mac, and comes with a privacy cover so you do not have to unplug it when the call ends. It is the tool I recommend throughout these steps because it sits at the top of the monitor where it should be, delivers a clean 1080p image, and costs less than most people spend on lunch for two. The steps below will work with any decent external webcam, but the N60 is where I would start.
Your laptop camera is the cheapest problem to fix on a video call.
The NexiGo N60 is a 1080p plug-and-play webcam with 52,000+ Amazon ratings. It clips to your monitor in under two minutes and immediately puts you in a different league from the built-in laptop crowd.
Amazon Check Today's Price on Amazon -> →Step 1: Position the Camera at Eye Level or Slightly Above
This single adjustment changes how you read on camera more than anything else. When a laptop sits flat on a desk, the camera is pointed up at your chin and ceiling. The people on the other end are looking up your nose and seeing your overhead light as a halo. Moving the camera to eye level or just above it shifts the viewing angle to something that resembles a normal face-to-face conversation.
If you are using a standalone monitor, clip the NexiGo N60 to the top of the screen and adjust your chair height so your eyes land roughly at the top third of the frame. If you are using a laptop, put the laptop on a stand or a stack of books to raise the screen until the built-in camera hits eye level, and connect a separate keyboard so you can still type. The difference in perceived authority is immediate. People who look down into a camera look uncertain. People who look straight into one look engaged and present.
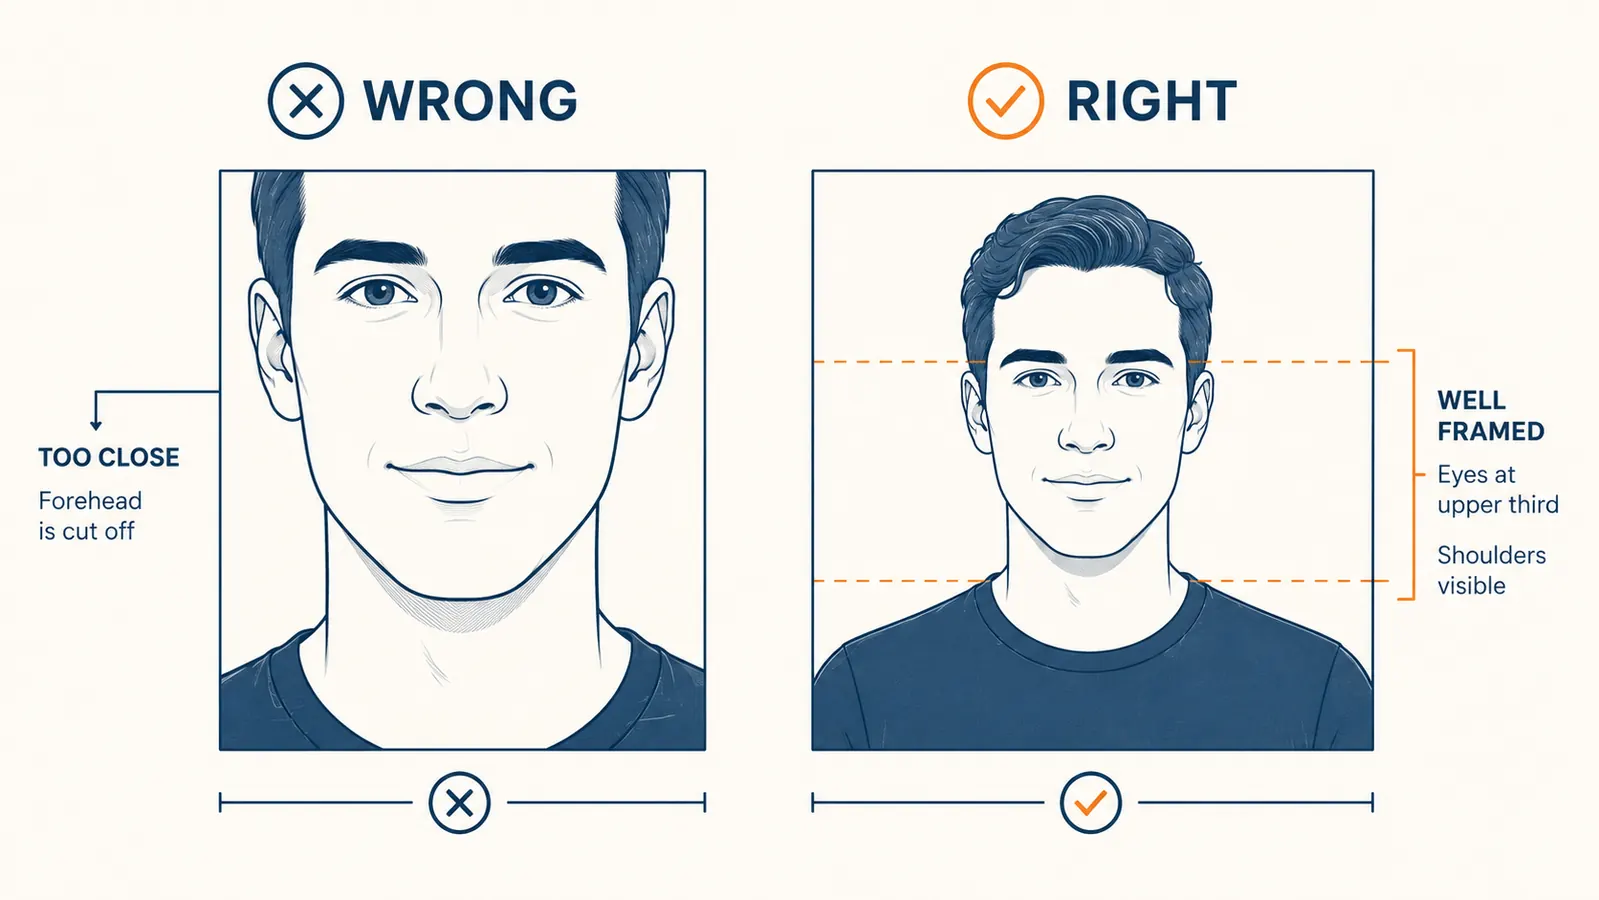
A quick check: open your video preview in Zoom or Google Meet before the call starts. You want to see your eyes land in the upper third of the frame with a little headroom above you and your shoulders visible at the bottom. If your forehead is getting cut off, lower the camera slightly. If you are seeing a lot of empty wall above your head, raise it or pull your chair closer to the desk.
Step 2: Fix Your Lighting Before You Touch Anything Else
Lighting is the variable most people completely ignore and the one that has the most impact on how you look. A bad light source will make a $400 camera look grainy. Good light makes a $25 webcam look like broadcast quality. The rule is simple: you want a bright, soft light source in front of your face, aimed at you, not behind you.
Natural window light is the best option if you have it. Position your desk so the window faces you, not sits behind you. A window behind you puts your face in shadow and blows out the background so the camera auto-exposes to the bright window, leaving you as a dark silhouette. If natural light is not practical, a desk lamp aimed at your face from slightly off to one side creates a clean, flattering directional light. You do not need a ring light. Any decent lamp with a daylight bulb (5000K to 6500K color temperature) will work. Put it at roughly face height, a couple of feet to your left or right, and angled slightly toward your face. That setup beats overhead lighting every time.
One thing to avoid: mixing light color temperatures in the same frame. If the overhead light is warm yellow and your desk lamp is cool white, the camera gets confused and your skin tone shifts green or orange depending on which source dominates. Turn off the overhead light when you are on a call if it has a different color temperature from your desk lamp.
Step 3: Sort Your Background So It Reads as Intentional
Your background communicates something about you whether you intend it to or not. A clean wall, a tidy bookshelf, or a simple plant signals that you showed up with intention. A pile of laundry, a cluttered shelf, or a blank white wall with a door handle in it signals that you did not think about it. You do not need a professionally styled studio. You need a background that is not distracting.
The simplest approach: sit close enough to your desk that the camera sees a meter or two behind you at most. At that distance, a neutral-colored wall or a modest bookshelf reads as a professional background. If your actual wall is unavailable or messy, virtual backgrounds work fine on the NexiGo N60 because it delivers a sharp enough edge for Zoom's background removal to track you cleanly without a green screen. Zoom's blur feature is a last resort, but it works when the alternative is a background you cannot fix quickly.
The camera sees whatever is in frame. Every object behind you either adds credibility or subtracts it. Pick one direction intentionally.
Step 4: Tune the Camera Settings Before the Call Starts
Out of the box, the NexiGo N60 produces a solid image with no configuration required. But the companion software, available as a free download from NexiGo's site, lets you adjust brightness, contrast, saturation, and white balance manually. This matters most in rooms where the lighting is not ideal. The auto white balance on webcams sometimes drifts during a call as the ambient light changes, especially in rooms with big windows. Setting a manual white balance value locks the color temperature and prevents that mid-call shift.
If you are not using the NexiGo software, you can still adjust most webcam settings through your operating system. On Windows, open Device Manager and look under Imaging Devices. On Mac, some third-party tools like Webcam Settings give you manual control that macOS does not expose natively. The settings worth tweaking are brightness (usually needs to come down slightly in well-lit rooms), white balance (set to match your light source), and sharpness (leave it at default or reduce it slightly to avoid over-sharpened skin). Do this once, save it, and forget it.
One setting I always check: is the camera outputting at 1080p, not 720p. Some video platforms default to a lower resolution stream to save bandwidth. In Zoom, go to Settings, then Video, and confirm the camera resolution is set to 1080p under HD. Teams has a similar toggle in its device settings. Running at the lower resolution on a 1080p camera means you are throwing away image quality you already paid for.
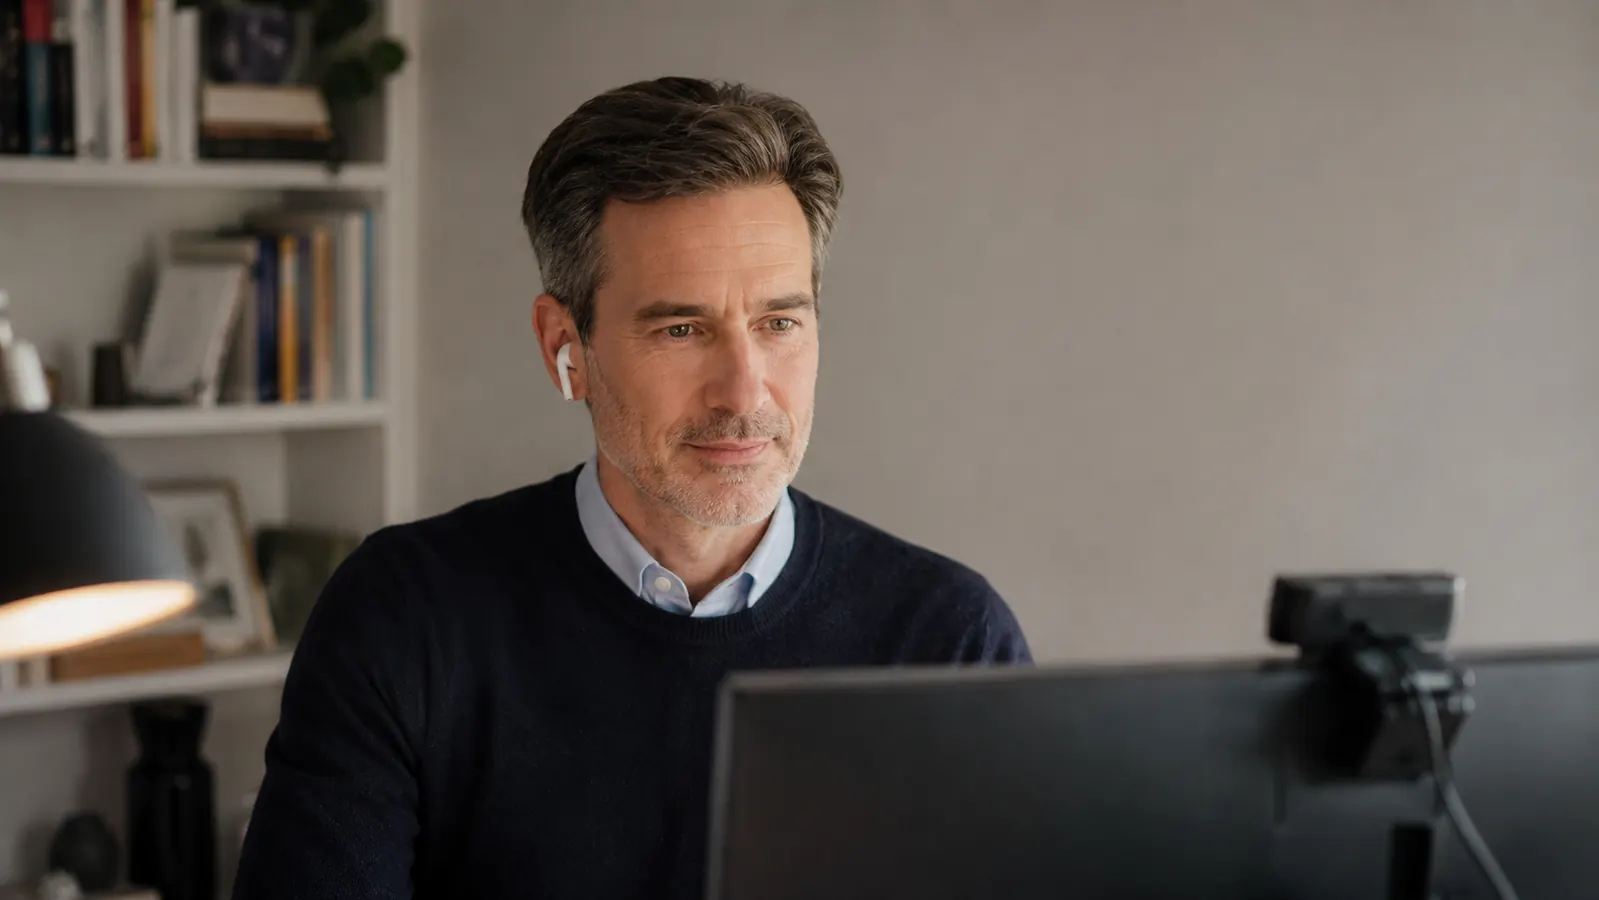
Step 5: Fix Your Audio So Your Voice Matches Your Image
You can look completely polished on camera and still create a poor impression if your audio is bad. Muffled sound, echo, or background noise tells the people on the other end that you are not taking the call seriously. The NexiGo N60 includes a built-in microphone that handles most home office conditions adequately. It is not a podcast microphone, but it is a significant step up from a laptop's built-in mic, which sits below the keyboard and picks up every keystroke along with your voice.
The biggest audio improvement most people can make does not cost anything: reduce echo. Hard floors and bare walls bounce sound around and create a hollow, reverby quality that makes you sound like you are in an empty warehouse. Carpet, bookshelves, curtains, and even a pile of books on the desk all absorb sound. If your home office sounds echoey, adding a rug or heavy curtains to the room does more for your audio quality than upgrading your microphone. If you are in a truly bare-walled space and echo is a real problem, a USB condenser microphone with a cardioid polar pattern (picks up sound from the front only) solves it for around $40 to $60. But try the room treatment approach first.
In your video call software settings, enable noise suppression if the platform offers it. Zoom, Teams, and Google Meet all have background noise filters that suppress keyboard clicks, HVAC hum, and ambient room noise. These filters work well enough that you can often get away with a decent built-in microphone in a reasonably treated room. Use them.
What Else Helps: Small Things That Add Up
Once you have the five steps sorted, a few smaller details push the overall impression further. Wear solid colors on camera. Thin stripes and busy patterns cause a moire effect that flickers on screen and looks unprofessional in an odd, technical way that people notice without knowing why. Close unnecessary browser tabs and applications before joining a call so your computer is not throttling the webcam feed while processing forty background tasks. Look into the camera lens when you are speaking rather than at the faces on your screen. It feels unnatural because you are not making eye contact with anyone's actual eyes, but to the people on the call it reads as direct, engaged, confident contact. These details are all free.
The full setup we have described here, a $25 NexiGo N60 on a monitor at eye level, a desk lamp with a daylight bulb, a clean background, and noise suppression turned on, costs under $30 and takes an afternoon to configure. After that it requires nothing. You join the call, you look like someone who takes their work seriously, and the gear disappears into the background where it belongs. See the full NexiGo N60 breakdown in the long-term review, and if you are deciding between the N60 and the Logitech Brio 101, the direct comparison covers every spec that matters for remote work.
Ready to stop dreading the pre-call video preview?
The NexiGo N60 is plug-and-play, clips to any monitor, ships with a privacy cover, and costs about the same as a decent lunch. Over 52,000 buyers rated it 4.3 stars. It is the foundation every other step in this guide builds on.
Amazon Check Today's Price on Amazon -> →